Connect CvasYouAre to your AI assistant
Claude, ChatGPT, Gemini, Le Chat, Copilot and others can read and update your CVs, with your consent
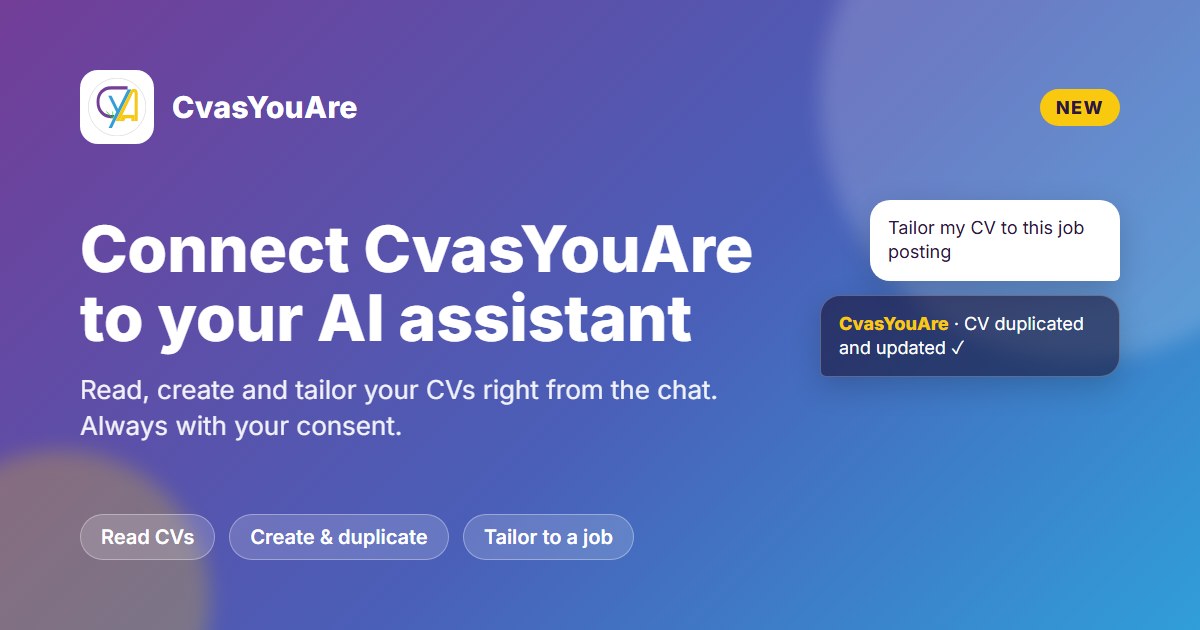
CvasYouAre now speaks the language of AI assistants. Thanks to the Model Context Protocol (MCP), the open standard supported by Claude, ChatGPT, Gemini, Mistral and many more, you can connect your account and ask your assistant to work directly on your CVs.
What the assistant can do
- Read your CVs: list them and open their full content.
- Create a new CV from scratch or from information you give it in the chat.
- Duplicate a CV, also into another language (Italian, English, French, Spanish, German).
- Update a CV: summary, experience, education, skills, languages.
- Recommend a template among those available on CvasYouAre.
- Export a CV to PDF, ready to send.
Try: "Duplicate my English CV and tailor it to this job posting", "Rewrite my CV summary to make it sharper", "Create a German CV from my Italian one", "Which template fits a creative role?"
Before you start
All you need is the connector address:
https://www.cvasyouare.com/mcp
No keys or passwords to create: the first time you connect, the CvasYouAre sign-in page opens, you log in with your usual account and choose which permissions to grant (read only, or read and edit). The assistant only sees your own CVs.
Claude
claude.ai, desktop and mobile apps
- Open Settings → Connectors (in newer versions Customize → Connectors).
- Click Add custom connector.
- Enter CvasYouAre as the name and https://www.cvasyouare.com/mcp as the URL, then click Add.
- Click Connect, sign in to CvasYouAre and authorize.
- In a chat, open the + (tools) menu and make sure CvasYouAre is enabled.
Available on the Free plan too (one custom connector). Once added from the web or desktop app, it is also available in the mobile app. On Team and Enterprise plans an Owner adds it from Organization settings → Connectors → Add → Custom → Web; each user then connects it from Customize → Connectors.
ChatGPT
- On the web version, open Settings → Apps (formerly Apps & Connectors).
- Click Create app.
- Enter CvasYouAre as the name, https://www.cvasyouare.com/mcp as the MCP server URL, and choose OAuth as authentication.
- Confirm that you trust the application, click Create and sign in to CvasYouAre.
- In a chat, click + → More and pick CvasYouAre.
If you don't see the option, turn on Developer mode first (under Settings → Apps → Advanced settings); in Business and Enterprise workspaces an admin may need to allow it.
Google Gemini
The Gemini app does not yet let everyone add custom connectors. The most direct way today is Gemini CLI:
- In your terminal run
gemini mcp add --transport http cvasyouare https://www.cvasyouare.com/mcp - Start
geminiand type/mcp auth cvasyouareto sign in to CvasYouAre.
Mistral Le Chat
- In the side menu, open Intelligence → Connectors.
- Click Add connector and choose the Custom MCP Connector tab.
- Enter CvasYouAre as the name and https://www.cvasyouare.com/mcp as the URL: Le Chat detects the sign-in method on its own.
- Click Connect and sign in to CvasYouAre.
- In a chat, enable CvasYouAre from the Tools menu.
Microsoft Copilot
The consumer version of Copilot does not support custom connectors. For work agents you can use Microsoft Copilot Studio:
- Open your agent and go to Tools → Add a tool → New tool.
- Choose Model Context Protocol.
- Enter a name, a short description and the URL https://www.cvasyouare.com/mcp; choose OAuth 2.0 as authentication.
- Click Create, then create the connection by signing in to CvasYouAre.
Developer tools
- Claude Code:
claude mcp add --transport http cvasyouare https://www.cvasyouare.com/mcp, then/mcpto sign in. - VS Code (GitHub Copilot): from the Command Palette choose MCP: Add Server → HTTP and paste the URL.
- Cursor: in
mcp.jsonadd"cvasyouare": { "url": "https://www.cvasyouare.com/mcp" }insidemcpServers. - Codex CLI:
codex mcp add cvasyouare --url https://www.cvasyouare.com/mcp, thencodex mcp login cvasyouare. - Gemini CLI: see the Google Gemini section above.
Privacy and control
- You choose the permissions when you connect: read only or read and edit.
- The assistant only sees your CVs, never other users' data.
- Every change is saved on CvasYouAre: you can review and fix it from the site at any time.
- The CV content you work on is processed by your assistant's provider, under its own privacy policy.
- To revoke access, just remove the connector from your assistant's settings.
Menu names may change as each app is updated. If something doesn't match, let us know.